Endpoint Central best practices
This article cover the usage of Endpoint Central best practices for a network of around 200 devices with 150 users. Endpoint Central, formally known as Desktop Central, is a centralised management platform developed by Manage Engine
1. Install Endpoint Central
You can have the verion on the cloud (more ££, of course) or having on-premp if you already have a datacenter infrastruture in place. Visit this site and download the on-prem edition, lovely that we can have it for 30 days unlimited trial
https://www.manageengine.com/products/desktop-central/free-trial.html
Before installing Endpoint Central on a VM, ensure that you have sufficient resources on that VM (12GB of ram, 200GB hard disk space, etc), and of course it needs to be added to your domain too!
Leave the default installation folder untouched

Leave the Web Server port with the default of 8020

Ignore the registration process and press on Skip

Click on Finish to complete the installation process, and next Endpoint Central will initialise
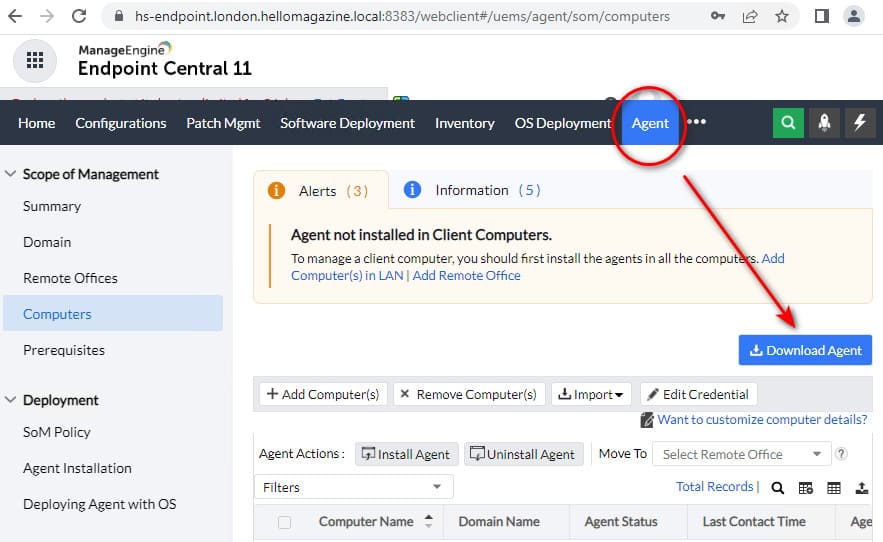
2. Adding Domain and install Angent
After installation, visit the "Agent" tab >> Domain >> and click on "Add Domain", then visit the "Agent" tab and install it on a few computers so they can start populating Endpoint Central. Notice that the "Local Office" is the default LAN where Endpoint Central is installed and cannot be change, in other words Local Office is your local LAN
3. Configure Mail Server Setttings
Visit the Admin tab on the server and, from the miriad of options, choose the Server Settings >> Mail Server Settigns, and configure the appropiate settings on your server so you can Send emails from it

Comments powered by CComment